
PerfectDisk 12 supports complete integration with Active Directory’s Group Policy Administrative Templates to support fast and easy enterprise deployment, scheduling, and management. Not only does this reduce the time and effort required to deploy PerfectDisk, administrators already familiar with Active Directory will find this approach to installation, configuration, and deployment familiar.
Active Directory management is integrated inside PerfectDisk and works through a variety of tools and interfaces. One option, which is explained here is managing PerfectDisk’s Group Policy settings using Active Directory Users and Computers. PerfectDisk’s Active Directory tab lets administrators manage PerfectDisk through Active Directory using either approach.
To access Active Directory Users and Computers window on your computer, click Start, All Programs, Administrative Tools, then select Active Directory Users and Computers.
To configure PerfectDisk Administrative Template, perform the following tasks
§ Task 2: Manage PerfectDisk settings by changing template policy property values
In the Active Directory Users and Computers window, right click the desired OU, and then click Properties in the resulting pop-up menu. This opens the Properties window for that OU:
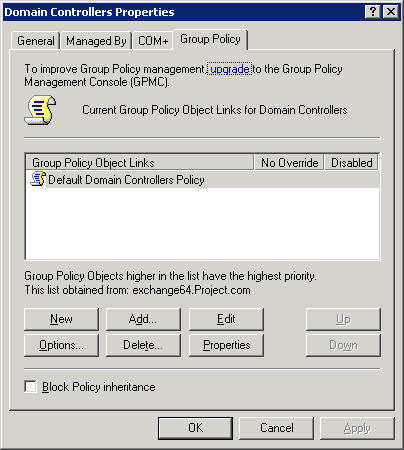
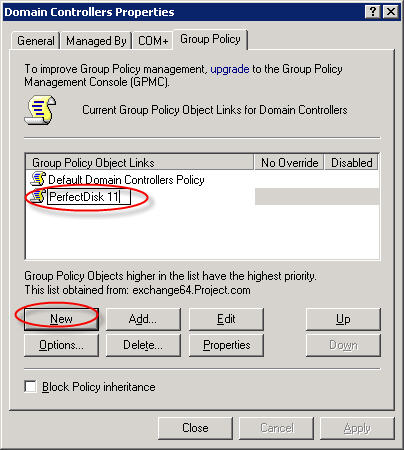
Click the Group Policy tab to show GPO links, and then click the New button to create a new policy.
Enter a name for your policy (For example, PerfectDisk 12).
Once you have created the policy, click the Edit button. This launches the Group Policy Object Editor window, where you must add an administrative template (.adm) file.
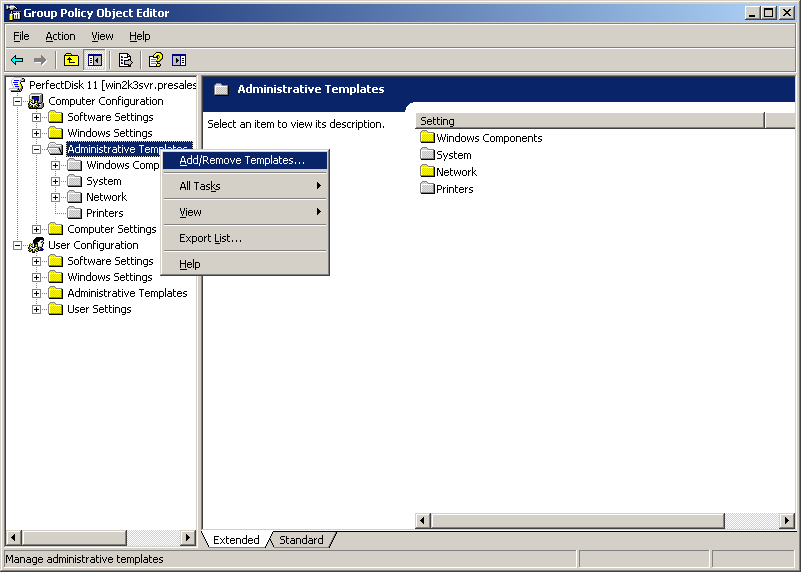
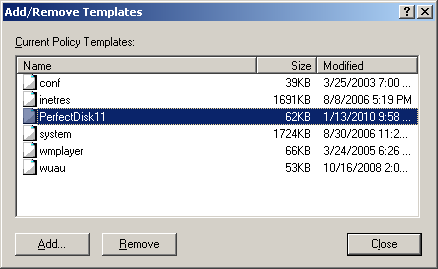
Right-click the Administrative Template folder, then select Add/Remove Templates from the resulting pop-up menu. This opens an Add/Remove Templates window.
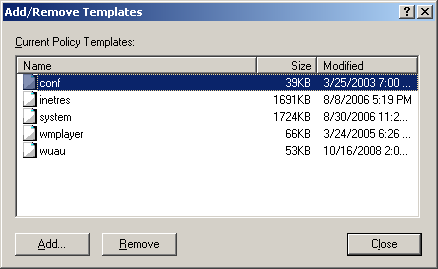
Click the Add button.
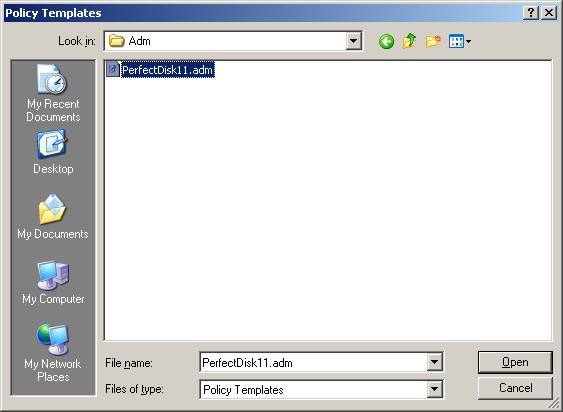
Navigate to the .adm file for PerfectDisk, then click Open. This attaches the PerfectDisk Template to its GPO. Note: PerfectDisk includes this file in the installation package; it resides in the same folder as PerfectDisk (usually C:\Program Files\Raxco\PerfectDisk12\).
Click the Close button on the Add/Remove Templates window; you should now see the PerfectDisk template added to both Computer and User containers.
Note: The GPO you just created only links to the OU you selected at the outset of this process. You can link the same GPO to other OU’s, and they will all adhere to whatever policies you defined for this first OU.
To link an existing GPO to another domain or OU, complete these steps:
Open Active Directory Users and Computers.
In the console tree, right-click the organizational unit (OU) to which you would like to link the Group Policy Object.
Click Properties, and then click the Group Policy tab.
To add a Group Policy Object to the Group Policy Object Links list, click the Add button, which opens the Add a Group Policy Object Link dialog box.
Click the All tab, and then click the Group Policy Object you wish to add. Click OK.
In the Properties dialog box for the OU, click OK.
With your GPOs defined and attached to all the proper OUs, you can now begin configuring PerfectDisk policies at the Computer and User levels. Please refer to Configuring PerfectDisk Policies for more information.
Related Topics
§ Benefits of Managing PerfectDisk with Active Directory
§ Deploying PerfectDisk 12 Using Active Directory
§ Patching PerfectDisk Using Active Directory Group Policy
§ Configuring PerfectDisk Policies at the Computer and User Levels