You can configure PerfectDisk Clients on your managed computers by creating a configuration profile. For this, you will use the Enterprise Console's Create Client Profile Wizard. The Client configuration is not a required option, but it is very important when you want the optimum performance of your network computer drives. If you do not configure PerfectDisk Client options, Enterprise Console uses the default values of all parameters.
The PerfectDisk Enterprise Console lets you create as many configuration profiles as needed for your client computers. For example, you may wish to have different configuration settings for Desktops, Servers, and virtual machines. Once a configuration profile is created, you can easily add or remove computers to/from the configuration profile. The PerfectDisk Enterprise Console has 5 pre-set Configuration profiles for your convenience. You can edit an existing profile or create a new one.
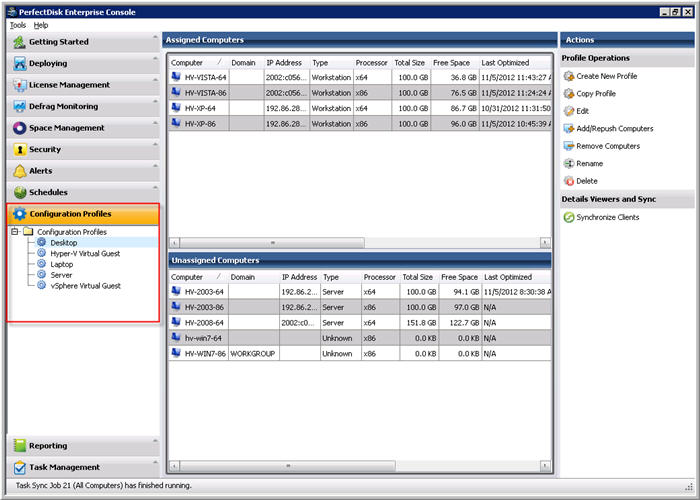
You can create configuration profiles in the Configuration Profiles window of the Enterprise Console.
Click the Create New Profile option in the Actions Pane on the right side. The Create Client Profile Wizard opens.
You can configure the following options for the PerfectDisk Client:
Virtual Environment Settings (applies to the computers that have PerfectDisk Virtual Enterprise Edition installed)
Note: It is not necessary to specify all the settings for the PerfectDisk Client. You can let Enterprise Console choose the default options for some settings and for others you can configure the settings.
After you are done creating a configuration profile, it gets added in the Information Pane on the left side of the Configuration Profiles window. A task is also created in the Task Pane of the Task Management window. After the task has executed, you can view success and failure status of the task in the Task Pane.