PerfectDisk only allows you to edit a single schedule at a time. You may edit any of the properties of a schedule including its name, which can alternatively be also changed through the renaming feature described in the Renaming a Schedule help topic.
Note: You will create some schedules through PerfectDisk 12 Enterprise Console while managing a group of computers whereas you’ll create others through Active Directory. You cannot edit those schedules by launching PerfectDisk locally, because only an Enterprise Console administrator can edit a schedule created in PerfectDisk 12 Enterprise Console. Finally, you must use Active Directory to edit any schedules created by Active Directory.
To edit a schedule, follow these steps:
Open PerfectDisk.
Click the Scheduling tab from the Tab Bar.
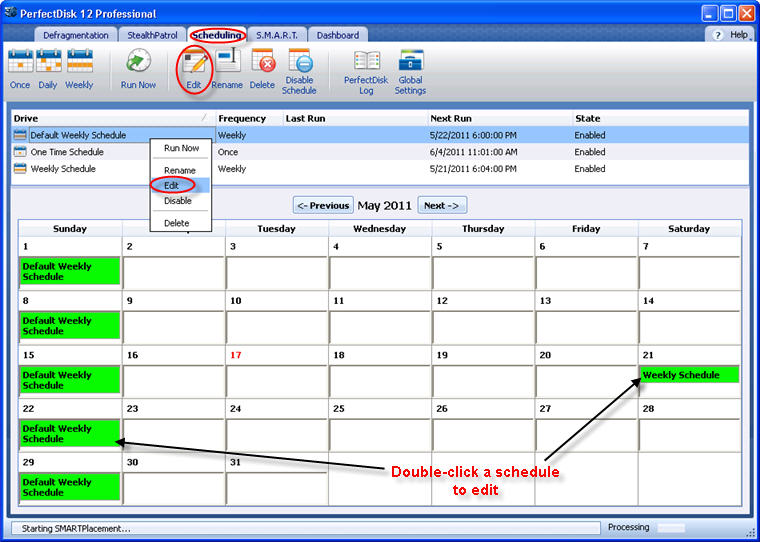
Select a schedule for editing from the Schedule List in the Scheduling window and do any of the following to edit a schedule:
· Click the Edit tool from the Tool bar.
· Double-click a schedule from the list or calendar to open the schedule for editing.,
· Right-click a schedule and choose Edit from the popup menu.
The Schedule Wizard appears.
You may change the name of a schedule in the Schedule Details page. When done, click Next.
You can change the task details in the Task Details page. When you have completed this task, click Next.
You may now change the drives to defragment in the Select Drives page. When you are finished, click Next.
You can also specify the pre and post tasks to be performed in the Pre/Post Tasks page. Click Next when done.
You can modify the date, time, frequency and shutdown options of the schedule in the Time and Date page.
When you are done, click Finish. The schedule is saved with your new changes.
Related Topics